The Modern Struggle of Footwear Organization
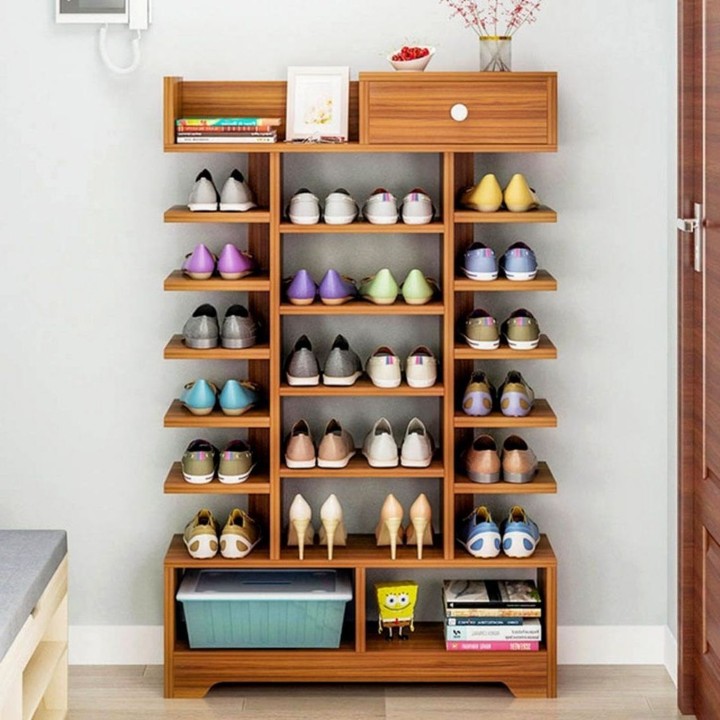
If you have a lot of shoes, you already know the logistical nightmare of keeping them organized. Footwear is often the most difficult category of clothing to store because shoes are bulky, vary in height, and can easily track dirt into the home. However, you will inevitably face a significant problem when you live in a small space or an apartment with a narrow entryway. What you need is not just any storage, but a minimalist shoe rack that can accomplish the goal of housing all your shoes while maintaining a small footprint.
In addition to pure functionality, most homeowners want a stylish shoe rack that works in harmony with the interior design of their room. One of the most versatile alternatives is the shoe rack made from wood. Wood is a uniquely flexible material that can be crafted into almost any shape or size to fit awkward corners or under-stair spaces. Furthermore, you can finish wood using several colors or stains to increase the beauty of the piece. To create the best shoe rack, it is vital to explore various DIY wood ideas and master the technical tips required for a professional-looking finish.
-
Why Wood is the Superior Choice for DIY Projects
Before diving into specific designs, it is important to understand why wood remains the gold standard for DIY shoe racks. Unlike plastic or cheap particle board, solid wood offers:
- Customizability: You can trim it to the exact millimeter to fit your space.
- Structural Integrity: Shoes—especially heavy boots—can be surprisingly heavy. Wood provides the tensile strength needed to prevent sagging.
- Sustainability: Using reclaimed or FSC-certified wood reduces your environmental footprint.
-
Exploring Reclaimed Wood and the “Shoe Cubby” Design
One of the most popular ideas in the world of DIY wood projects is the Shoe Cubby Rack made from reclaimed wood. Using reclaimed materials—such as old barn wood, discarded shipping crates, or even old floorboards—offers several benefits for the design.
The Character of Aged Timber
Reclaimed wood possesses patterns, knots, and textures that are vastly different from new, store-bought lumber. This “lived-in” look adds a rustic or industrial charm to your entryway. Furthermore, a reclaimed wood cubby rack spends significantly less of your budget than purchasing new hardwood.
The Cubby Logic
To build this, you measure the needed size and height based on your average shoe size. Each “cubby” or pigeonhole acts as a dedicated home for a single pair of shoes. This prevents shoes from being piled on top of each other, which protects the material of your footwear and makes it much easier to find the pair you need in a hurry.
-
The Pallet Revolution: A Three-Level Minimalist Approach
Another brilliant idea for a wooden shoe rack is the simple DIY pallet rack. Shipping pallets are often available for free or at a very low cost behind local businesses.
Designing for Stability
A successful pallet design often features a three-level vertical structure. In this layout, each level is divided into two rooms or sections. To ensure a professional finish, the back side should be designed with a closure (a thin plywood backing), while the front side remains open for easy access. This design is highly functional as it prevents shoes from falling down the back of the rack—a common annoyance with open-frame designs.
If you are using pallets, ensure the wood is in good condition and is heat-treated (marked “HT”) rather than chemically treated. If you prefer a cleaner look, you can replicate this design using new wood such as Pine or Oak. These woods offer high durability and a beautiful grain that can be stained to match your existing furniture.
-
Mobile Shoe Racks: Organization on Wheels
Do you frequently host guests or need to move your furniture for deep cleaning? In this case, you may try to create a simple wooden rack with high-quality casters (wheels).
The Convenience of Mobility
Like other wooden shoe racks, you can start with a basic two-level or three-level box design. By installing locking swivel wheels on the bottom, you allow the rack to be moved freely throughout the house. This is a particularly good idea for laundry rooms or mudrooms where the floor may need frequent mopping. To improve the aesthetic, painting the rack in neutral colors like charcoal gray, off-white, or navy blue can make it look like a high-end designer piece rather than a DIY project.
-
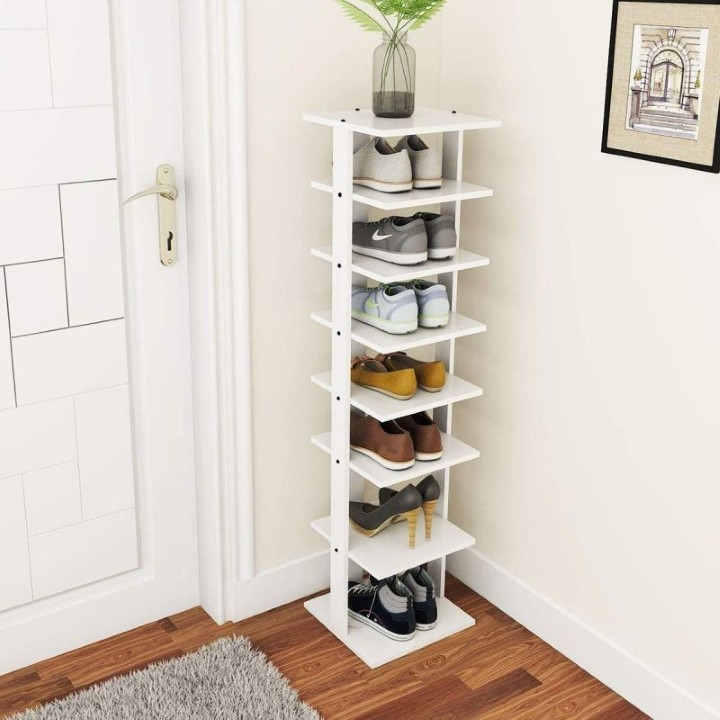
DIY Shoe Ladder Shelves: The Vertical Powerhouse
As the name suggests, the Shoe Ladder Shelf is inspired by the frame of a ladder. This design is one of the most aesthetically pleasing “Shoe Rack DIY Wood” ideas because of its architectural lines.
The A-Frame Pyramid Design
You can combine two small ladders to create a pyramid or “A-frame” shape. By placing flat wooden planks across the rungs of the ladders, you create a series of shelves that get narrower as they go up. This shoe rack requires a very small floor space but can keep a surprisingly large number of shoes. This design is perfectly suited for modern and minimalist houses that favor open-concept storage.
-
Industrial Fusion: Wood and Concrete Blocks
For those who prefer a more “Brutalist” or rugged aesthetic, you can create a wooden shoe rack from a combination of wood and concrete blocks (cinder blocks).
Stability and Contrast
In this design, the concrete blocks serve as the sturdy pillars or “legs” of the rack, while thick brown wood planks serve as the shelves. The weight of the concrete blocks ensures the rack will never tip over, making it incredibly durable. This style is highly suitable for classic or industrial home designs. The contrast between the cold, gray concrete and the warm, brown wood creates a sophisticated visual balance.
-
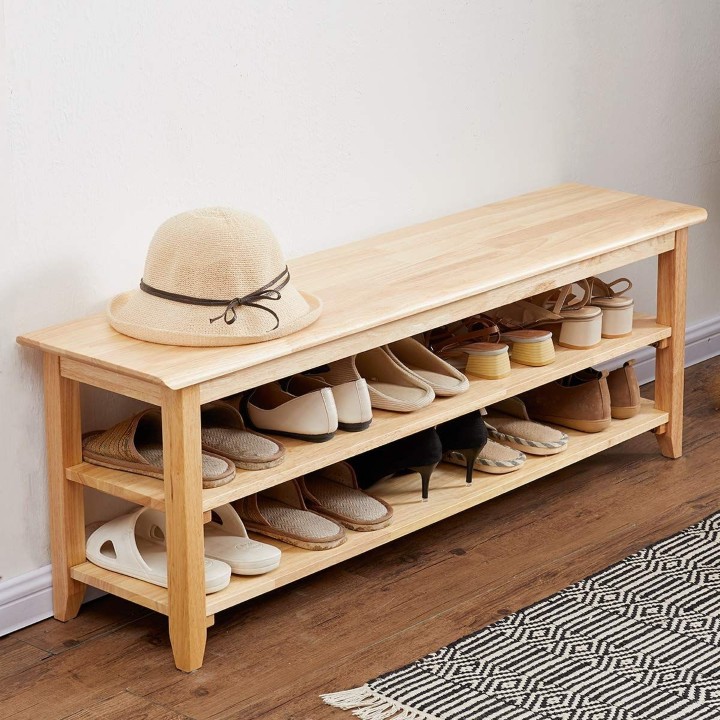
The Dual-Purpose Wooden Bench Shoe Rack
In a small house, every piece of furniture must “earn its keep.” A wooden bench with a built-in shoe rack is the ultimate multi-functional piece.
Comfort Meets Utility
You can make this by creating a sturdy wooden bench with a reinforced top for sitting. In the space at the bottom of the bench, you install one or two shelves for shoe storage. This is a brilliant idea for entryways because it provides a place for people to sit while they put on or take off their shoes, keeping the floor clear of clutter at the same time.
-
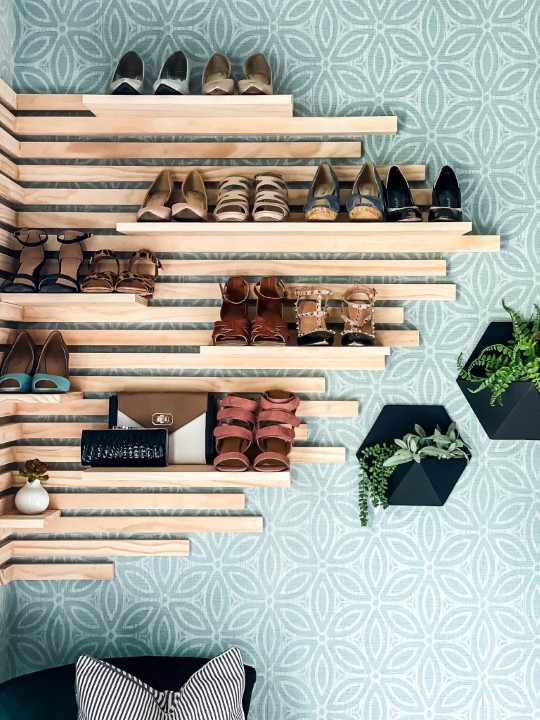
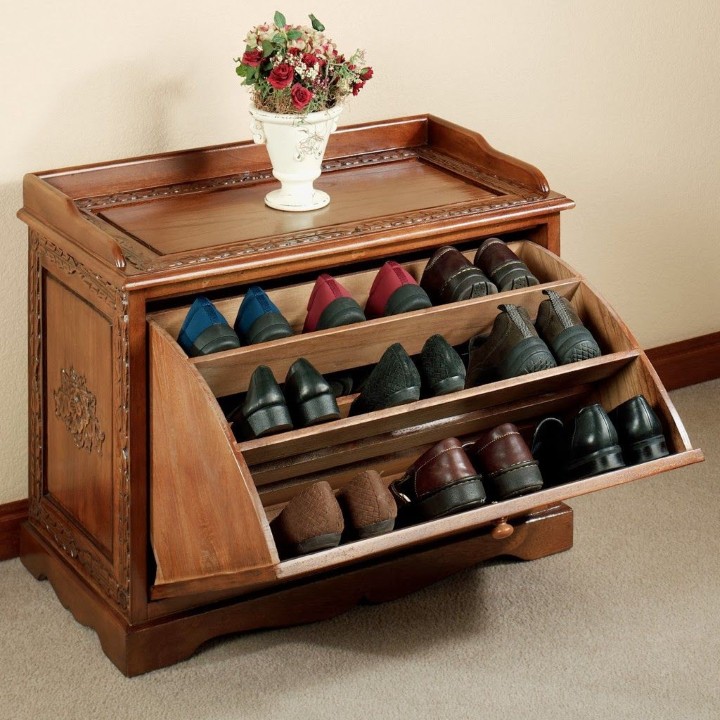
DIY Shoe Cabinets and Cupboards: Hidden Elegance
If you prefer a visual “cleanliness” where you don’t have to see your shoes at all, a DIY shoe cabinet or cupboard is the way to go.
Sophisticated Enclosures
By using light woods like Birch or Poplar, you can build a slim-profile cabinet with “tilt-out” drawers. This design allows the shoes to be stored vertically within the door, drastically saving space in narrow hallways. These cabinets can be installed close to the front door or in an unused corner of the room. Using high-quality hinges and magnetic latches will give the cupboard a professional feel.
-
Technical Guide: Apparatus and Tools for Success
To execute these “Shoe Rack DIY Wood” ideas successfully, you must be prepared with the right tools. Attempting a build with improper equipment can lead to uneven shelves and structural failure.
Required Materials and Tools:
- Lumber: Poplar boards, straight pine boards, or reclaimed oak.Hardware: 1-inch dowel rods, wood screws (various lengths), and wood glue.
- Power Tools: Power screwdriver, drill bits, and a miter saw for precise angled cuts.
- Measuring Tools: A high-quality measuring tape and a speed square.
- Finishing Supplies: Spray primer, sandpaper (120 and 220 grit), and your chosen paint or wood stain.
-
Step-by-Step Construction Walkthrough
Once you have chosen your design and prepared your materials, follow these general steps to bring your shoe rack to life.
Step 1: Design and Measurement
Measure the length and size of the space where the rack will live. You must also measure your shoes! For example, you may need to spare about 16 inches of vertical height for boots, while flat sneakers only require 6 to 8 inches.
Step 2: Cutting the Framework
Start by cutting the wood for the side panels of the rack. These act as the vertical supports. Use your miter saw to ensure the top and bottom are perfectly square.
Step 3: The “Heel Guide” Method
A clever trick for DIY shoe racks is measuring the “toe rest.” You can use a high-heel shoe or a large boot as a guide when measuring the distance between the toe kick (the front bar) and the dowel rod (the back support). Drill pilot holes for the screws to prevent the wood from splitting.
Step 4: Assembly
Attach the shelves or dowel rods to the sideboards using wood glue and screws. Ensure you use a level during this process; nothing is more frustrating than a shoe rack where the shoes slide to one side!
Step 5: Finishing
Sand every surface until smooth to prevent splinters from damaging your shoes. Apply a spray primer followed by two coats of paint. If you want a natural look, use a clear polyurethane sealant to protect the wood.
-
Maintenance: Protecting Wood from Humidity and Termites
Because wood is an organic material, it can be more fragile than metal or plastic. You must know how to take care of your shoe rack wood to ensure it lasts for decades.
Humidity Control
Shoes are often wet or damp when they are placed on a rack. Over time, this moisture can seep into the wood, causing it to warp or grow mold. To prevent this, always use a water-resistant sealant or a “marine-grade” varnish on your DIY shoe rack.
Preventing “Organic Attack”
Termites and other wood-boring insects can be a problem, especially if you are using reclaimed wood. Before building, inspect your wood for small holes or “sawdust” piles. You can treat the wood with a borate-based preservative to make it unappetizing to pests. Regularly cleaning the rack with a damp cloth and ensuring good airflow in the room will also keep the wood healthy and strong.
-
Troubleshooting Common DIY Mistakes
Building a shoe rack seems simple, but small errors can ruin the project:
- Forgetting Pilot Holes: Hardwoods like Oak will crack if you drive a screw in without a pre-drilled hole.
- Ignoring the “Ventilation” Factor: If your shoe cabinet is completely airtight, your shoes will begin to smell. Ensure your DIY design includes small air vents or gaps for circulation.
- Undershooting the Depth: Make sure the shelves are deep enough for your largest pair of shoes (usually around 12 to 14 inches for men’s sizes).
-
The Psychology of an Organized Entryway
Beyond the wood and the screws, why is a DIY shoe rack so important? The entryway is the first thing you see when you come home. A pile of messy shoes signals “chaos” to the brain, which can increase your stress levels at the end of a long day. By creating a dedicated, beautiful wooden rack, you are creating a transition zone that signals “peace” and “order.”
The Satisfaction of the Build
In conclusion, the best idea for a DIY wooden shoe rack is the one that fits your specific lifestyle and space. Whether you choose the rugged beauty of a reclaimed wood cubby, the vertical efficiency of ladder shelves, or the multi-functional convenience of a storage bench, you are taking a proactive step toward a more organized home.
By preparing the right apparatus—like your miter saw and drill—and following a precise design plan, you can transform raw lumber into a piece of furniture that you will be proud to flaunt. Don’t forget to protect your investment from humidity and termites to ensure its longevity. Now that you have the knowledge and the inspiration, it is time to choose your design and execute it. Your shoes—and your peace of mind—will thank you.