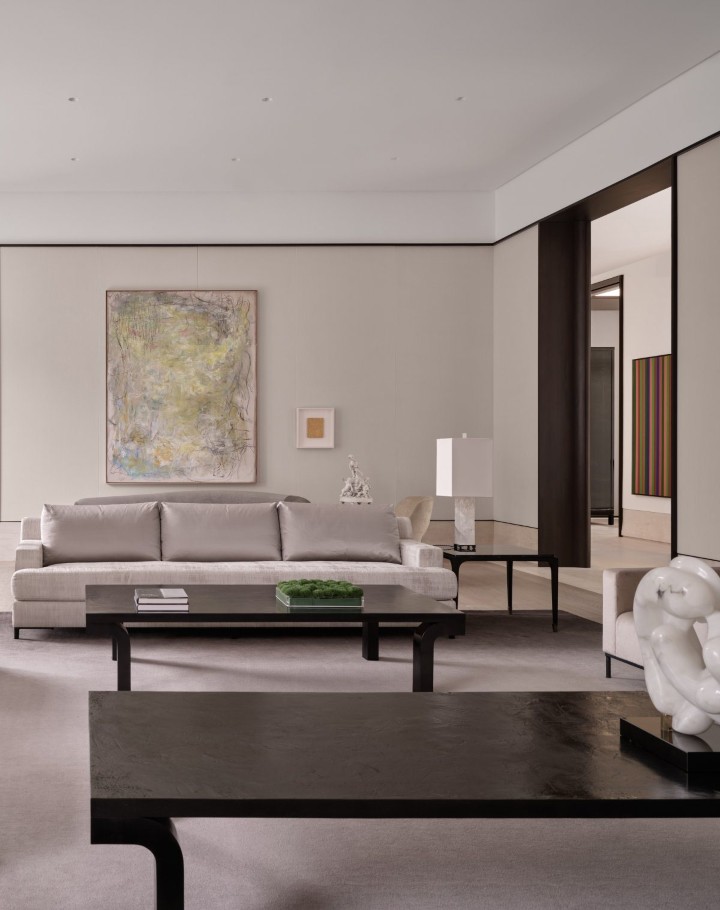

Have you ever walked into a room in your house, looked at the plain, flat walls, and felt… nothing? We have all been there. White or beige walls are safe, but they rarely inspire. Your walls are the largest surface area in your home, yet they are often the most underutilized canvas for personal expression.
Changing your wall color or pattern is widely considered the highest ROI (Return on Investment) activity in interior design. For the cost of a few cans of paint and a roll of tape, you can completely alter the psychology of a room—making a small room feel grand, a cold room feel cozy, or a chaotic room feel serene.
However, moving beyond a single solid color can be intimidating. You might worry about messing up the lines or choosing colors that clash. Fear not. This comprehensive guide will not only introduce you to 8 trending, cool wall painting ideas but will also walk you through the technical “dos and don’ts” of executing them like a pro. Whether you are a seasoned DIYer or picking up a roller for the first time, these ideas are designed to be accessible, scalable, and stunning.
Top 8 Cool Wall Painting Ideas to Revitalize Your Space
Everyone wants a home that feels “lived-in” and lively, rather than a sterile showroom. The following eight ideas range from geometric precision to artistic flow, allowing you to choose a difficulty level that matches your confidence.
-
Stripes: The Timeless Illusionist
If you are looking for a wall painting idea that defies trends and offers structural benefits to your room, stripes are your best friend. They are the visual equivalent of wearing vertical stripes to look taller; they manipulate the eye to change the perceived proportions of a room.
- Why It Works: Vertical stripes draw the eye upward, making low ceilings feel instantly higher. Horizontal stripes travel the eye across the room, making narrow spaces feel wider and more expansive.
- Design Tip: Don’t just stick to two colors. Consider a multi-width stripe pattern (bar code style) using three colors: a base white, a soft gray, and a thin “pinstripe” of gold or navy for a touch of luxury.
- Where to Apply: Horizontal broad stripes work wonders in a narrow hallway or powder room to expand the space. Vertical stripes are excellent for dining rooms or entryways where you want to emphasize grandeur.
-
Honeycomb: The Geometric Modernist
Hexagons have taken the design world by storm in the last decade, appearing in everything from backsplashes to floor tiles. Painting a honeycomb pattern on your wall is a unique way to bring this modern, organic geometry into your living space without the cost of tiling.
- Why It Works: The honeycomb shape mimics nature (biophilic design) while remaining structured. It creates a “hive” of activity and visual interest.
- Execution Strategy: You don’t need to paint the entire wall. The “cascading honeycomb” is a popular trend where the hexagons start densely at the top or bottom of the wall and “scatter” out as they move across, fading into the base wall color.
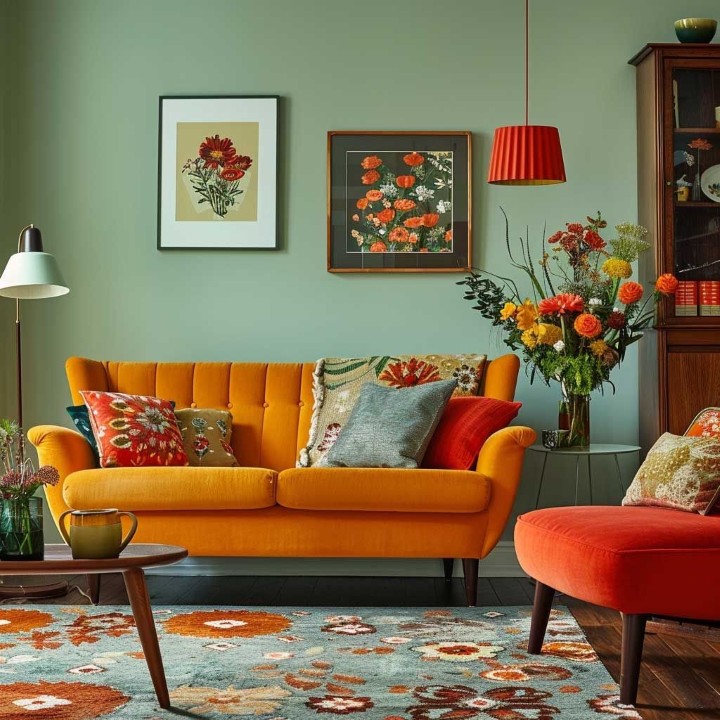
- Color Palette: For a funky, energetic vibe, mix bright orange, charcoal gray, and white. For a sophisticated nursery, try soft sage greens, pale yellows, and cream.
-
Cross-Stitched Accent: The Nostalgic Detail
This is perhaps the most intricate idea on the list, perfect for those who value craftsmanship and detail. It translates the cozy, grandmother-chic aesthetic of embroidery onto a massive scale.
- The Concept: Instead of using thread, you use small painted “x” marks to create a larger image, just like a pixelated digital image or a traditional cross-stitch pattern.
- Why It Works: It adds incredible texture and a “handmade” feel that flat paint usually lacks. It serves as a conversation piece because, from a distance, it looks like a solid mural, but up close, the intricate “stitches” reveal themselves.
- Best Application: This technique shines on a focal wall in a craft room, a reading nook, or a nursery. A floral pattern using small painted crosses in pinks, greens, and reds against a white background is a classic choice.
-
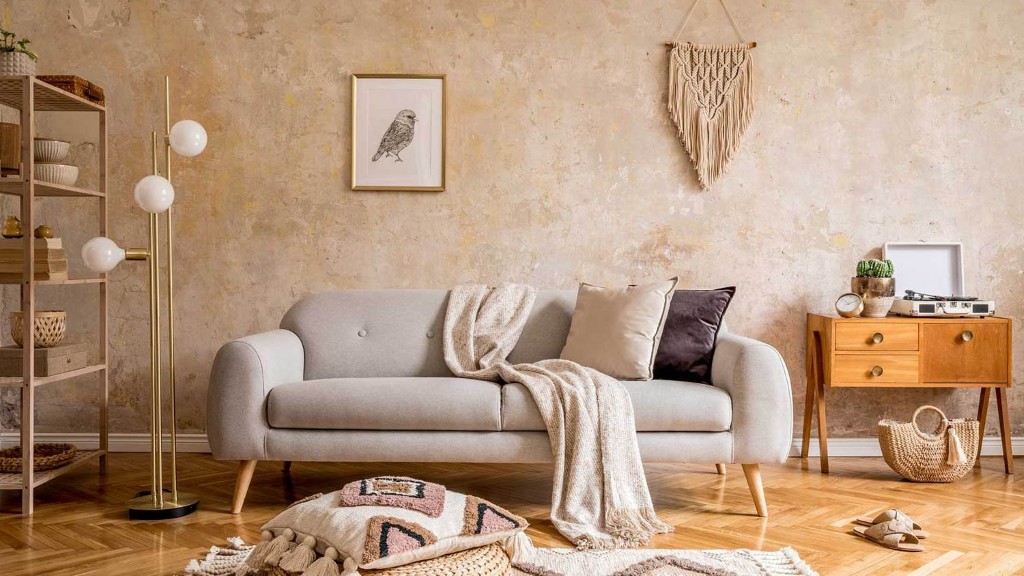
Handwriting Statement Wall: The Personal Touch
In an era of mass-produced art, a handwriting wall is unapologetically personal. It transforms your wall into a page from your diary, a favorite book, or a letter.
- How to Do It: You don’t need professional calligraphy skills. The secret is using a projector. Type out your favorite quote, poem, or song lyric on a computer using a font you love. Project it onto the wall, trace the outline with a pencil, and then fill it in with a fine brush or a paint marker.
- Why It Works: It turns text into texture. When done in a repetitive script, the words become a pattern. It is visually stimulating but can also be incredibly meaningful.
- Pro Tip: Avoid making the text too small, or it will look like clutter. Large, sweeping cursive scripts in a metallic gold paint over a navy blue or black wall can look exceptionally high-end.
-
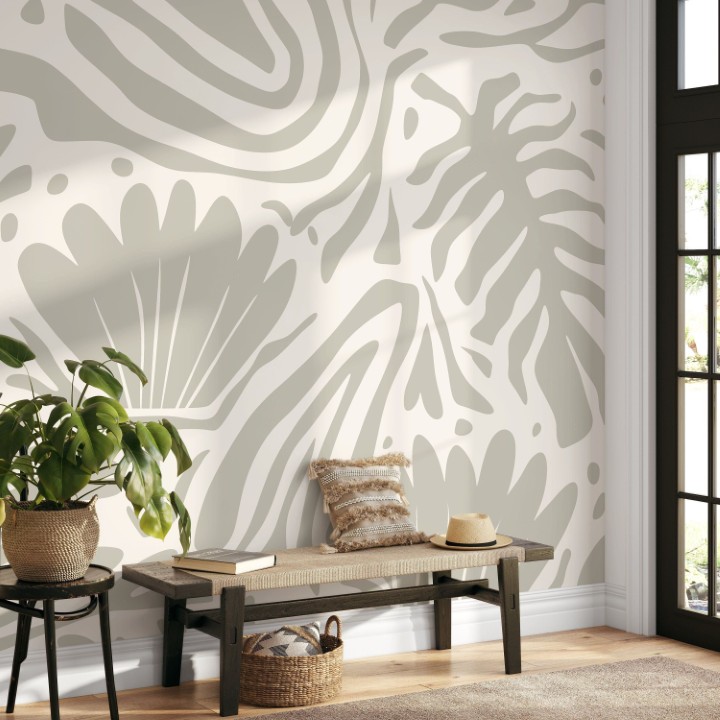
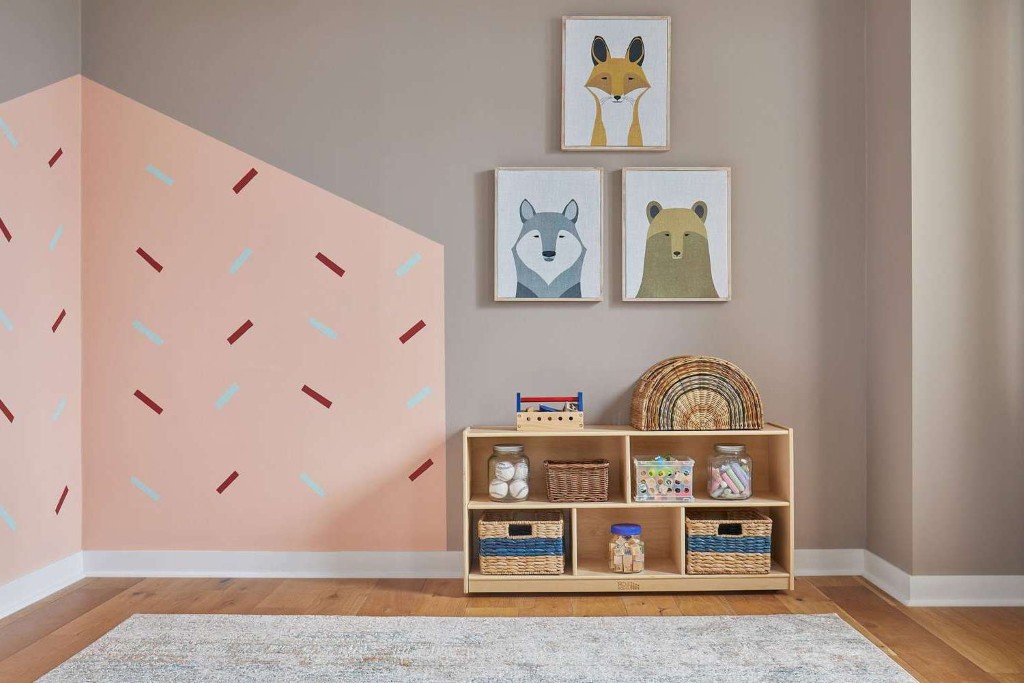
Rainbow Wall: The Joyful Arch
Forget the traditional primary-colored rainbows of the past. The modern “Boho Rainbow” is one of the hottest trends in interior design, featuring earthy tones, muted pastels, and organic, imperfect arches.
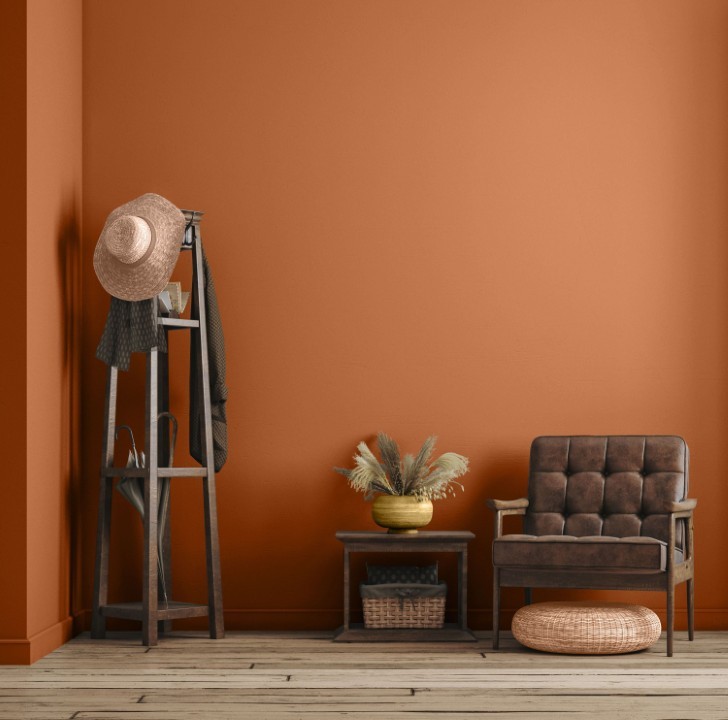
- The Evolution: While suitable for children’s rooms, the modern rainbow has grown up. Think terracotta, dusty rose, mustard yellow, and warm beige. These “sunset” tones allow you to bring the rainbow into living areas or adult bedrooms without it looking juvenile.
- Visual Impact: Curved lines soften the harsh angles of a square room. An arch painted behind a bed or a desk creates a “zone” without needing physical dividers.
- Application: You can paint a massive rainbow that spans the whole wall, or a smaller, floating arch to frame a specific piece of furniture, like a crib or a console table.
-
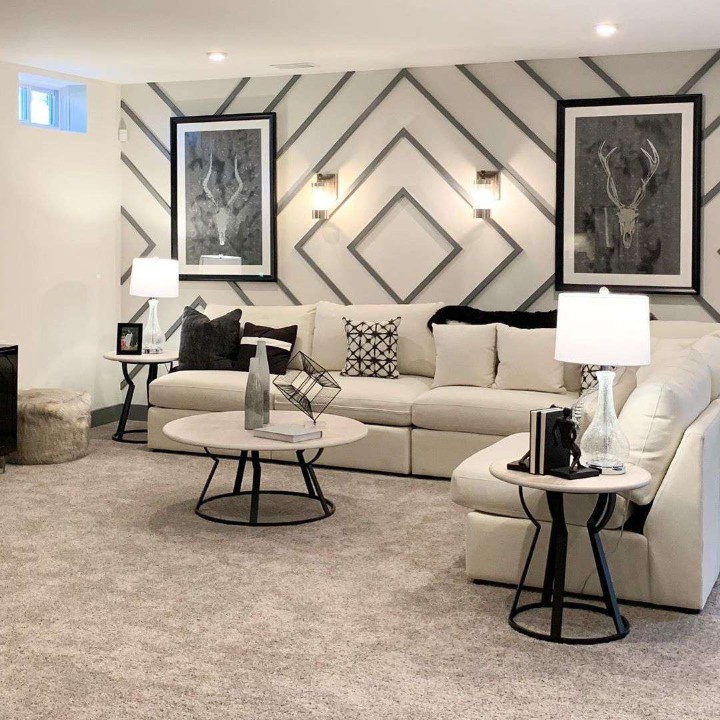
3D Cube Wall: The Trompe-l’œil
For those who love optical illusions, the 3D cube design is a showstopper. By using three shades of the same color (light, medium, and dark), you can create a flat wall that looks like it has depth and texture.
- The Logic: This design relies on a simulated light source. Imagine the light is coming from the top left; the top of the cube will be the lightest shade, the side facing the light will be the medium shade, and the side away from the light will be the darkest.
- Why It Works: It adds architectural interest to a plain box room. It looks incredibly complex but is actually just a series of diamonds and lines created with painter’s tape.
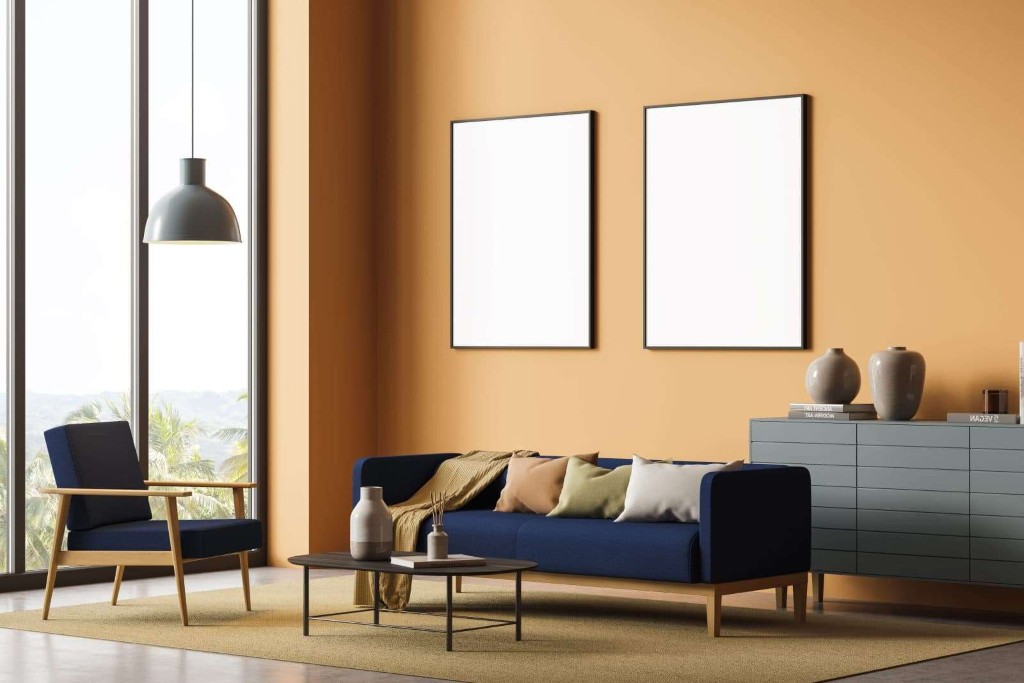
- Best Colors: Grays and blues work best for this to create a “shadow” effect. A monochromatic blue scheme (Baby Blue, Sky Blue, Navy) creates a stunning, calming 3D effect.
-
Ombre: The Soft Gradient
Ombre is the technique of blending one color hue to another, usually moving from light to dark or vice versa. It mimics the natural beauty of a sunrise or the ocean depths.
- The Atmosphere: Unlike the sharp lines of stripes or cubes, ombre has no hard edges. It creates a dreamy, ethereal, and relaxing atmosphere. It is the visual equivalent of a deep breath.
- The Technique: This requires a “wet blending” technique. You paint the top section one color, the bottom section another, and mix the two paints in the middle while they are still wet on the wall to create a seamless transition.
- Where to Use: It is unbeatable in bathrooms (referencing water) or bedrooms (promoting sleep). A “sunset” ombre fading from peach to pink to violet is magical in a teenager’s room.
-
Fish Scales (Scalloped Wall): The Art Deco Revival
Also known as the “Mermaid Scale” or “Scallop” pattern, this design features overlapping semi-circles. While it can look whimsical for kids, it is also deeply rooted in Art Deco design from the 1920s.
Design Versatility:
- The Fun Route: Use bright teals, purples, and silvers for a mermaid theme.
- The Elegant Route: Use a stencil to create gold outlines of scales over a dark emerald green wall. This looks like expensive wallpaper found in a high-end jazz club.
- Why It Works: The repetitive curves are pleasing to the human eye and break up the monotony of straight baseboards and ceiling lines.
How To Paint Your Wall Like a Pro: The Ultimate Guide
Knowing what to paint is only half the battle. How you paint determines whether your wall looks like a Pinterest success or a DIY disaster. Painting is 80% preparation and 20% application. Do not rush the prep work.
1: The Shopping List
Before you start, ensure you have the correct arsenal. Trying to improvise with the wrong tools is the leading cause of painting frustration.
- Paint: Calculate the square footage of your wall. Always buy 10% more than you think you need for touch-ups.
- Primer: Essential if you are painting a light color over a dark one, or if you are painting on fresh drywall.
- Painter’s Tape: Do not use cheap masking tape; it bleeds. Invest in high-quality blue or green painter’s tape designed for sharp lines.
- Tools: Angled sash brush (for cutting in edges), microfiber rollers (for smooth finish), roller tray, extension pole.
- Prep Gear: Spackle/filler, scraper, sandpaper (120 grit), drop cloths (canvas is better than plastic as it’s less slippery), and a degreaser (TSP or sugar soap).
2: Wall Preparation (The Most Important Step)
You cannot hide a bad surface with good paint.
- Clear the Space: Move furniture to the center of the room and cover it. Remove all switch plates and outlet covers.
- Clean the Walls: This is often skipped. Walls accumulate dust, oils, and cobwebs. Wash them down with a mixture of sugar soap (or mild detergent) and water. Paint adheres much better to a clean, degreased surface.
- Repair Imperfections: Run your hand over the wall. Fill any nail holes or dents with spackle. Once dry, sand the patched areas smooth.
- Sand the Wall: If your current paint has a gloss or satin finish, you must lightly sand the entire wall to “rough it up.” This gives the new paint a “tooth” to grip onto; otherwise, it may peel off later.
3: Taping and Priming
- Tape Carefully: If you are doing a geometric design (like stripes or cubes), your tape application must be perfect. Press the edges of the tape down firmly with a credit card or a putty knife to ensure a tight seal.
- Pro Trick: After taping, paint a thin layer of the base wall color over the edge of the tape. This seals the tape. If any paint bleeds under, it will be the base color, which is invisible. This guarantees a razor-sharp line for your accent color.
- Prime: Apply a coat of primer if you are making a drastic color change. This ensures the true color of your topcoat shines through and reduces the number of coats needed.
4: The Painting Process
- Cut In: Start by using your brush to paint a 2-inch border around the edges of the wall, ceiling, and baseboards.
- The “W” Technique: Load your roller and paint a large “W” shape on the wall. Then, without lifting the roller, fill in the W with vertical strokes. This distributes the paint evenly without creating thick lines.
- Wet Edge: Always keep a “wet edge.” Don’t let a section dry before you roll the section next to it, or you will see lap marks.
- Wait to Recoat: Follow the manufacturer’s instructions on drying time (usually 2-4 hours) before applying a second coat. Two thin coats are always better than one thick, drippy coat.
5: The Reveal
- Remove Tape While Wet: This is counter-intuitive, but effective. Remove the painter’s tape while the final coat is still slightly tacky (not soaking wet, but not fully dry). If the paint dries completely, it forms a film that might rip when you pull the tape.
- Pull at an Angle: Pull the tape slowly at a 45-degree angle away from the painted area.
- Clean Up: Wash brushes with warm soapy water immediately.
Conclusion and Recommendations
Transforming your home does not require hiring a contractor or allocating a massive renovation budget. What it truly requires is a clear vision, patience, and the courage to experiment. Wall paint, at its core, is one of the most forgiving design elements you can work with—if you make a mistake, you can always repaint.
The eight cool wall painting ideas explored in this guide—ranging from the architectural precision of Stripes and 3D Cubes to the soft, organic flow of Ombre and Fish Scales—prove that impactful interior design is achievable at any skill level. Whether your taste leans modern, artistic, playful, or calming, there is a technique that can reflect your personality without overwhelming your space.
One important thing to remember is that a painted wall is not permanent. Unlike tile or built-in features, paint gives you the freedom to evolve. A bold Honeycomb pattern today can become a serene Ombre wall next year. This flexibility allows your home to grow with your lifestyle, rather than locking you into one aesthetic forever.
Practical Recommendations for Success
-
Start Small and Build Confidence
If you are new to decorative wall painting, avoid beginning with your main living room wall. Instead, practice in a powder room, hallway nook, laundry room, or even inside a closet. These low-risk areas allow you to refine taping, spacing, and brush control without pressure.
-
Always Test Paint Colors in Real Lighting
Never rely solely on paint swatches or online images. Light dramatically changes color perception.
Paint a 12-inch square test patch directly on your wall and observe it:
- In morning daylight
- In afternoon shadow
- Under warm and cool artificial lighting at night
This simple step can prevent expensive regrets.
-
Invest in High-Quality Painter’s Tape
For geometric designs such as Stripes, 3D Cubes, or Honeycomb patterns, clean edges determine whether the wall looks professional or amateur. Premium painter’s tape (such as FrogTape or ScotchBlue) seals edges better and reduces paint bleed, making a noticeable difference in the final result.
-
Embrace Imperfection Where It Belongs
Not every design needs machine-level precision. Styles like Handwriting Walls, Rainbow murals, or abstract freehand designs benefit from slight imperfections. These human touches add warmth and authenticity—your home should feel lived-in, not manufactured.
Estimated Cost Breakdown (DIY Wall Painting Projects)
Below is a realistic cost estimate for most DIY decorative wall painting projects in the U.S. Prices may vary by location and brand.
Basic Materials
- Interior paint (mid-range quality): $30–$60 per gallon
- Primer (if needed): $20–$40 per gallon
- Painter’s tape (premium): $8–$12 per roll
- Rollers, brushes, trays, drop cloths: $25–$60 (one-time purchase)
Estimated Total Costs by Project Type
| Project Type | Estimated DIY Cost |
| Simple Stripes | $80 – $150 |
| Ombre Wall | $100 – $200 |
| Honeycomb / 3D Cube | $120 – $250 |
| Fish Scale Pattern | $90 – $180 |
| Rainbow or Artistic Wall | $100 – $220 |
Most accent wall projects can be completed under $250, making decorative painting one of the highest-impact, lowest-cost interior upgrades available.
Final Thought
Decorative wall painting is not just about changing color—it is about shaping mood, energy, and personal expression. When done thoughtfully, even a single painted wall can redefine an entire room.
Take your time. Plan carefully. Test often. And most importantly, enjoy the process. A home that reflects experimentation and creativity will always feel more meaningful than one that follows trends blindly.
By following these steps and letting your creativity flow, you are well on your way to banishing boring walls forever. Happy painting!